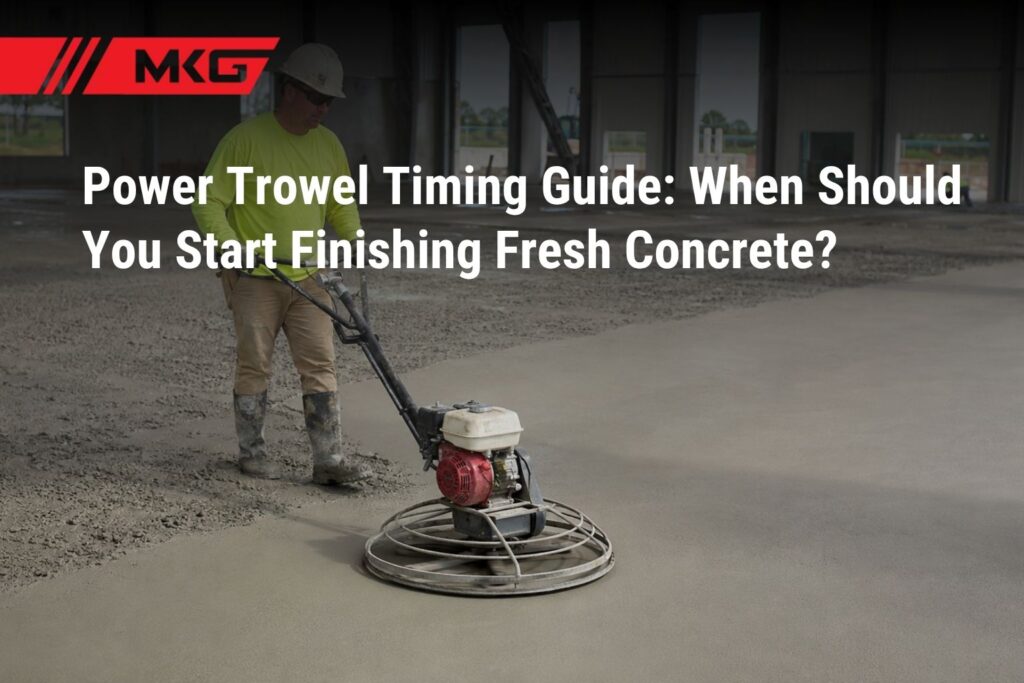
Ask any experienced flooring contractor what separates a beautiful slab from an expensive headache, and you will rarely hear “the machine”. You will hear “the timing”.
At MKG, we have watched hundreds of pours across India – warehouse floors in Bhiwandi, factory slabs in Raipur, basement parking decks in Pune, godown floors in Hyderabad. The crews that get a dense, glossy, dust-free surface are almost never the ones with the most expensive equipment. They are the ones who knew exactly when to walk onto the slab and start the machine.
That moment is short. Contractors abroad call it the “window of finishability”, and it is a good name for it, because a window is exactly what it is – it opens, it stays open for a while, and then it shuts. Start before it opens and you damage the slab. Start after it closes and you cannot fix what is already hard.
This guide explains how to read that window on site, in plain language, without a lab or a stopwatch.
First, understand what is happening inside the slab
Concrete does not go from wet to hard in one smooth step. It passes through stages, and the trowel belongs to only one of them.
- Placing and screeding. The concrete goes down, gets consolidated (usually with a needle vibrator or a conventional vibrator), and is struck off to level. Nothing about finishing has started yet.
- Bull floating. Immediately after screeding, the surface is bull floated to knock down ridges and push the coarse aggregate slightly below the surface. This is still “wet work”.
- Bleeding. Now the slab is left alone. The solids in the mix settle downward, and the water they displace rises to the top as a thin, shiny film. This is bleed water, and it is completely normal.
- Setting. The bleed water evaporates, the surface loses its shine and the concrete begins to stiffen. This is your window.
- Hardening. The slab keeps gaining strength for days and weeks. The trowel has no business here.
The single most important thing to take from that list: the trowel is not a wet-concrete tool. It works on concrete that is setting, not concrete that is still plastic. Almost every finishing defect we get called about traces back to someone ignoring that.
Rule number one: no trowel while bleed water is on the surface
If there is still a shine, a film, or standing water anywhere on the slab, the machine stays off.
This is not a preference, it is physics. If you close the surface while water and trapped air are still trying to escape, they get sealed in just below the top skin. A few days later, that skin lifts. Sometimes it shows up as small round blisters an inch or two across; sometimes it comes away in sheets.
The Concrete Network’s guide on delamination points out that the failed layer is usually just an eighth to a quarter of an inch thick – a paper-thin mistake that ruins an entire floor. The NRMCA’s technical note on concrete blisters makes the same point and adds the part that hurts: once the concrete has hardened, these defects are not easily repaired.
And whatever you do, never trowel bleed water back into the surface to “save time”. You are diluting the cement paste at the exact layer that is supposed to be the strongest. That is how you get a floor that dusts under forklift traffic within a year.
There is one trap worth knowing about. On a hot, windy afternoon the top of the slab can dry and crust over while the concrete underneath is still bleeding. It looks ready. It is not. The Concrete NZ industry guide on minimising delamination risk specifically warns that surface evaporation can prematurely stiffen the top while the slab below is still releasing water and air. If conditions are harsh, check the concrete in a shaded corner too, not just where the sun is hitting.
Rule number two: the footprint test
This is the check every finisher on earth uses, and it needs no equipment at all.
Step onto the slab with your boot, then step off and look at the mark you left.
- Boot sinks deep, concrete sticks to the sole – too early. Get off and wait.
- Footprint roughly 3 to 6 mm deep (about 1/8 to 1/4 inch), edges clean, nothing sticking – this is it. The slab will hold the machine.
- Barely any mark at all, surface feels hard – you are late. Move fast.
Bartell Global’s beginner’s guide to troweling describes the same test, and the industry advice compiled by For Construction Pros puts a ceiling on it: hold off until the sheen is gone and a finisher leaves no more than a quarter-inch indentation.
Two supporting checks we recommend to our customers:
The look. The surface should have gone from wet-shiny to matte, but still feel slightly damp when you touch it. Bone dry is too far.
The thumb. Press your thumb into the surface. It should take real, deliberate pressure to make a mark, and the mark should hold its shape rather than collapsing or filling back in.
Rule number three: stop trusting the clock
Search this topic online and you will find numbers thrown around – one and a half hours, two hours, three hours, four hours. Those numbers are not wrong. They are just useless as an instruction.
They describe an average across mixes, seasons and continents. Your slab is not an average. Here is what actually moves the timing on an Indian job site:
Weather, and it is not close. In peak summer in Nagpur or Ahmedabad, with 42°C and dry wind, the window can open in well under an hour and close before you have got the machine positioned. During the monsoon, with humidity above 80%, evaporation slows to a crawl and the same mix might not be ready for four hours or more. On a January morning in Delhi, you may find yourself finishing at night. Plan for it – arrange tower lighting in advance rather than working off a phone torch.
The mix. PPC and fly-ash blends bleed more slowly and for longer than straight OPC. Sticky, sand-heavy or high-fines mixes bleed less and often mislead the finisher into starting early. Retarders push the window later; accelerators pull it earlier. Air-entrained concrete is a special case – the entrained air slows bleeding, the slab looks ready before it is, and hard steel troweling on it is genuinely risky.
Slab thickness. A 300 mm raft has a much longer path for trapped air and water to travel than a 100 mm floor. Thick slabs need more patience.
What is under the slab. A dry, absorbent subgrade pulls water downward and shortens the wait. A polythene vapour barrier or a waterproofed base blocks that route entirely, so every drop of water has to come up through the top. Slabs on vapour barriers are one of the classic causes of blistering. On the other hand, a properly prepared and compacted subgrade – rolled with a plate compactor or a walk-behind roller – gives you a predictable base and far fewer surprises at finishing time.
Consistency of the pour. If half the slab came off one mixer and half off another with a different water content, you now have two windows, not one. This is where a reliable reversible concrete mixer or a well-maintained concrete mixer pays for itself: a consistent batch sets consistently, and a consistent set is a predictable finishing window.
Use the clock as a rough alarm to start checking. Use the slab to make the decision.
The slab does not set evenly - so where do you begin?
A large pour never becomes ready all at once, and this catches out crews who treat the slab as one big area.
Start where the concrete matured fastest: thin sections, edges, areas near joints, and anywhere exposed to sun or wind. Move last to the thick sections, the shaded bays, and the areas that were poured most recently. Walk the slab and test in several spots before you commit – one footprint in one corner is not a survey.
On big industrial floors, this is also a manpower question. If a 2,000 sq m slab reaches readiness across a 40-minute spread and you have one machine, you will lose the far end. Two or three trowels running in sequence is not a luxury on that job, it is the plan. If your project does not justify buying extra machines outright, our rental business exists exactly for these peak-load situations and if you are weighing this up more broadly, our guide on rental versus purchase for construction equipment walks through the maths.
Once you start: float first, finish later
Getting on the slab at the right moment is half the job. What you do in the first ten minutes is the other half.
- Float pass first, always. The first pass is about flattening and bringing the cement paste (the “cream”) to the surface – not about shine. Use a float pan or float blades, keep the blades flat or at a very slight pitch, and run the machine at low speed. A float pan spreads the load over a wide area, which is why crews use it when they want to get on as early as possible.
- Overlap and cross. Overlap each pass by a third to a half, then make your next set of passes at 90 degrees to the last. This is what removes the high-and-low pattern that otherwise shows up under a warehouse’s fluorescent lights.
- Raise the pitch gradually. As the slab firms up, switch to finishing or combination blades and start almost flat, then increase the blade angle pass by pass. Each increase puts more pressure on a smaller contact area, which is what densifies the surface. Pitching up too early gouges the concrete and leaves burn marks that will not smooth out.
- Listen to the machine. A trowel working correctly sounds smooth. When you start hearing a harsh scraping or grinding and the blade marks stop closing up, the concrete has gone past you. Stop rather than fighting it – you will only damage the surface further.
- Know when enough is enough. Over-troweling a slab that has already dried is its own defect. If the surface is uniform, dense and has the sheen the specification calls for, walk away.
What "too early" and "too late" actually look like
Symptom on site | What it usually means |
Machine sinks; blades dig in and throw slurry | Far too early – get off the slab |
Surface looks fine now, blisters appear days later | Started before bleeding finished |
Top layer sounds hollow when tapped; skin peels | Delamination from premature closing |
Floor dusts under traffic within months | Bleed water worked back into the surface |
Blades chatter; machine skids across the top | Too late – concrete has hardened |
Cannot achieve gloss no matter how many passes | Window closed; paste is no longer workable |
One area finishes beautifully, another does not | Uneven set across the slab, or uneven mix |
Notice that four of these seven do not show up on finishing day. That is precisely why timing gets blamed so late and so expensively.
Where the MKG Power Trowel fits in?
Timing is a skill, but the machine either helps you use the window or wastes it.
Our power trowel machine is built with that reality in mind. The 36-inch rotor covers ground quickly, which matters when the readiness window across a large slab is measured in minutes. It works as both a floater and a trowel, so your crew moves from the floating stage to the finishing stage without stopping to swap machines. The balanced rotor assembly and vibration-absorbing frame keep the blades from wobbling on a soft early pass, and the handle gives the operator the fine control needed to adjust blade pitch progressively rather than in jumps.
Just as importantly, blades wear. A worn or misaligned blade will not close a surface cleanly no matter how good your timing is, so keep a spare set on site – our spare parts service covers this and clean the blades and guard ring after every pour rather than at the end of the week.
If you are still building out your flooring setup, our overview of building construction equipment and their on-site functions shows how the mixing, compaction, vibration and finishing machines work together, and our list of equipment every contractor should have in 2026 is a useful sanity check before you invest.
A quick pre-trowel checklist
Before the machine goes on the slab, run through this:
- Has the bleed water completely gone – across the whole slab, including shaded areas?
- Does a boot leave a mark of roughly 3 to 6 mm, with nothing sticking to the sole?
- Is the surface matte but still slightly damp to touch?
- Have you tested at least four or five spots, not one?
- Are the float pan or float blades fitted, and set flat or near-flat?
- Is the machine fuelled, blades clean, pitch control free?
- Do you know your starting corner and your pass direction?
- Is lighting sorted if this is going to run past dusk?
- Is your saw-cutting plan ready, so control joints get cut on time with a concrete cutter once the slab can take it?
- Is curing material on site, ready to go the moment finishing ends?
That last one gets forgotten constantly. Curing should begin immediately after the final pass, not the next morning.
Conclusion
A power trowel does not create a good floor. It captures one, at a moment that the concrete decides and you have to recognise.
So watch the slab, not the clock. Wait for the shine to go. Trust the footprint. Float before you finish. Raise the pitch gradually. And accept that some days the window opens at 11 in the morning and some days it opens at 9 at night – that is not a scheduling failure, that is concrete.
Get that right, and a well-built machine will hand you a dense, flat, hard-wearing floor that still looks good after years of forklift traffic.
Planning a large floor pour and not sure how many trowels or which configuration you need? Talk to MKG’s technical team – we will walk through your slab area, mix and site conditions with you. You can also browse our full product range or find your nearest supplier through our dealer network.
📧 Email: info@mkgworld.in | 📞 Call: +91 95222 39320
MKG | Built for safety. Built for the future.